How to add a Document / File to a Custom Button
How to add a Document / File to a Custom Button
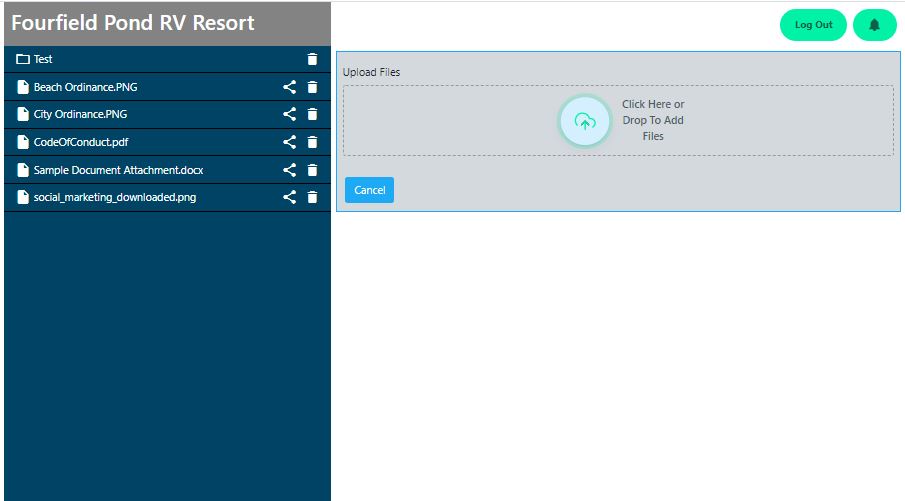
1) Upload a document by clicking the "Manage Files" button (located under "Quick Access on the left).
2) Click "Create Folder" to organize documents
3) Click "Upload File" to upload individual documents
 Note: There is a recommended order of operations that is easiest for adding documents.
First, upload the documents and then attach them as needed throughout your mobile app.
Note: Consider the "Manage Files" location your "File Cabinet".
You can create folders and upload files here.
No users will see these documents until they are attached to a specific category or button within your app.
_________________________________________________________________________________________________________________________________________________________________________________________________________

Note: There is a recommended order of operations that is easiest for adding documents.
First, upload the documents and then attach them as needed throughout your mobile app.
Note: Consider the "Manage Files" location your "File Cabinet".
You can create folders and upload files here.
No users will see these documents until they are attached to a specific category or button within your app.
_________________________________________________________________________________________________________________________________________________________________________________________________________
How to add a Document to a custom button:
Use Cases:
Detail Pages
Activity / Event Listings
DETAIL PAGES / BUSINESS LISTINGS
1) Click the pencil to edit the Detail Page
2) Click the "Buttons" bar on the right
Under "Additional Custom Buttons", follow the steps below:
3) Enter Title : Name of the button
4) Icon : Search or scroll for the appropriate icon
5) Action: Choose "Open File"
6) Choose from the drop down box the appropriate file.
7) Web View - When checked, the document will have the appearance of opening within the app. If unchecked, the document will open in a separate browser from the app.
8) Click "Add Button"
9) Click Submit
Note: Approved format of documents / files:
- jpg
- png
**PDF files will not display correctly
__________________________________________________________________________________________________________________________________________________________________________________________________________
ACTIVITY / EVENT LISTINGS
1) Click the pencil to edit the individual / recurring Activity or Event
2) Click the "Additional Buttons" bar on the right
Under "Additional Buttons", follow the steps below:
3) Enter Title : Name of the button
4) Icon : Search or scroll for the appropriate icon
5) Action: Choose "Open File"
6) Choose from the drop down box the appropriate file.
Note: Approved format of documents / files:
- jpg
- png
**PDF files will not display correctly
7) Web View - When checked, the document will have the appearance of opening within the app. If unchecked, the document will open in a separate browser from the app.
8) Click "Add Button
9) Click Submit
Related Articles
How to Add A Document / File to the Homescreen or as a Submenu Category
How to add a Document / File: 1) Create a custom form by clicking the "Manage Forms" button (located under "Quick Access on the left). Note: Consider the "Manage Files" location your "File Cabinet". You can add / store documents here and no users ...How to add a Document to Manage Files
How to add a Document / File to the Admin Console 1) Upload a document by clicking the "Manage Files" button (located under "Quick Access on the left). 2) Click "Create Folder" to organize documents 3) Click "Upload File" to upload individual ...Maps: How to Upload and Annotate a Map
Map Annotation Procedure Objective This SOP outlines the steps to annotate a map within the app and enabling it to be searchable Link to Training Video: https://loom.com/share/2e4ea71f410a43d8aaa7e17e7c743a6b Key Steps 1. Accessing Manage Maps 0:00 ...How To Create a Custom Form
How to Create / View Custom Forms HOW TO CREATE A CUSTOM FORM STEP 1: Click "Manage Forms" : Admin Console: Homescreen - Under "Quick Access" To Create A New Form: Click "Add Item" GENERAL INFORMATION: Add Title "Requires Log In" - Optional function, ...How to Add A Custom Form to the Homescreen or as a Submenu Category
How to add a Custom Form to your Mobile App: 1) Create a custom form by clicking the "Manage Forms" button (located under "Quick Access on the left). Click HERE for the steps to create Custom Forms. There is an order of operations that is easiest for ...